Updating data with mutations
This tutorial is a continuation of the DHIS2 application runtime tutorial on Dynamic Data Queries.
In this section we will:
- Get started with data mutations
- Learn how to define these mutations
- Mutate data using the
useDataMutationhook
1. Getting started
Prerequisites
Make sure that you have the @dhis2/app-runtime dependency installed in your project:
yarn add @dhis2/app-runtime
What are data mutations?
Data queries are for reading information and data mutations are for writing or changing that information.
With the DHIS2 app runtime, we have 3 different types of mutation which translate directly to REST API requests:
| Mutation Type | REST requests |
|---|---|
| Create | POST |
| Update | PUT |
| Delete | DELETE |
2. Define data mutations
In this example, we will continue building on the application from the previous tutorial and create a new program by clicking a button.
To start, let's create a separate file for our src/NewProgram.js component which we will import in the src/App.js.
Next, let's define a simple create mutation 👇
Create mutation
As with the data query definition from the previous tutorial, the create mutation below is also an object that specifies the resource programs from the DHIS2 Web API as well as the following required properties:
- The property
typeascreate(since we're creating a new program in this example) - The
dataproperty which is required in typecreate
The property names of data must correspond to the property names in the DHIS2 API.
// ...

const myMutation = {
    resource: 'programs',
    type: 'create',
    data: {
        name: 'A new Program',
        shortName: 'A new Program',
        programType: 'WITH_REGISTRATION',
    },
}
// ...
3. Mutating data
We have already declared our data mutation above so now we're ready to use it!
Let's start by importing the useDataMutation hook from the @dhis2/app-runtime
Import useDataMutation
import { useDataMutation } from '@dhis2/app-runtime'
// ...
Use the useDataMutation hook
Next, let's define our React functional component NewProgram which will use the useDataMutation hook.
Check the highlighted code below and notice a few things:
-
We get the
mutatefunction in the array that's returned by theuseDataMutationhook. We can call this function to execute the mutation:- So we then pass the
myMutationobject to theuseDataMutationhook
- So we then pass the
-
We have created an
onClickasync function that will be passed to theButtoncomponent. Here, themutate()function is called as well asrefetch()- Note: The
refetchfunction comes from the parent componentsrc/App.jsand theuseDataQueryhook (see next section below) which can be called to refetch data and has the behaviour of updating the information after the first load has completed. In this case, after a new program has been created.
- Note: The
import { useDataMutation } from '@dhis2/app-runtime'
import { Button } from '@dhis2/ui'

const myMutation = {
    resource: 'programs',
    type: 'create',
    data: {
        name: 'A new Program',
        shortName: 'A new Program',
        programType: 'WITH_REGISTRATION',
    },
}

export const NewProgram = ({ refetch }) => {
    const [mutate, { loading }] = useDataMutation(myMutation)

    const onClick = async () => {
        await mutate()
        refetch()
    }
    return (
        <Button primary small disabled={loading} onClick={onClick}>
            + New
        </Button>
    )
}
Use the NewProgram component
We can now import the src/NewProgram.js component in src/MyApp.js.
The highlighted code inside the MyApp functional component shows the refetch function mentioned above which is passed as props to its child component NewProgram:
import React from 'react'
import { useDataQuery } from '@dhis2/app-runtime'
import { NewProgram } from './NewProgram'

const myQuery = {
    results: {
        resource: 'programs',
        params: {
            pageSize: 5,
            fields: ['id', 'displayName'],
        },
    },
}

const MyApp = () => {
    const { loading, error, data, refetch } = useDataQuery(myQuery)

    if (error) {
        return <span>ERROR: {error.message}</span>
    }
    if (loading) {
        return <span>Loading...</span>
    }

    return (
        <div>
            <h1>Programs</h1>
            <NewProgram refetch={refetch} />
            <ul>
                {data.results.programs.map((prog) => (
                    <li key={prog.id}>{prog.displayName}</li>
                ))}
            </ul>
        </div>
    )
}
export default MyApp
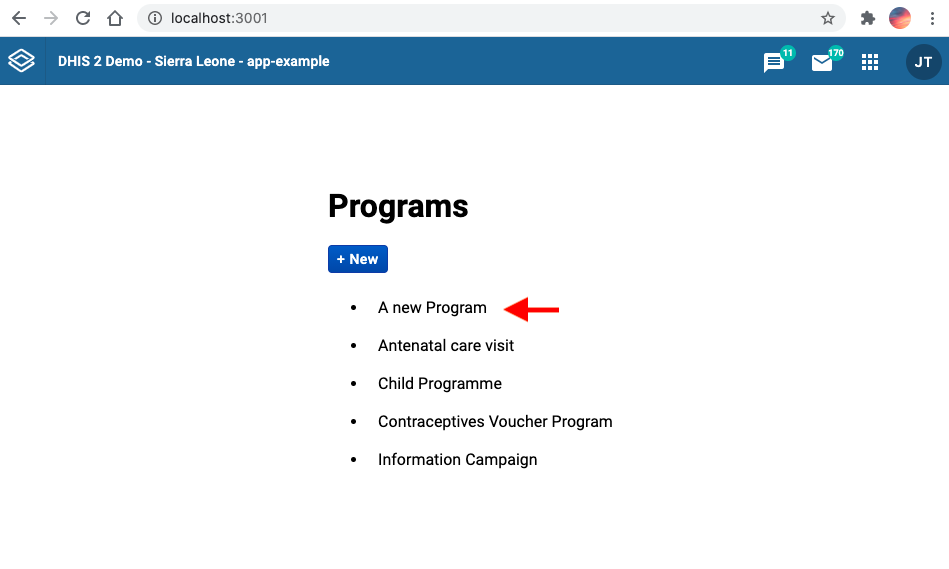
Check your browser
When you click the button + New a new program will be added to the list 👏
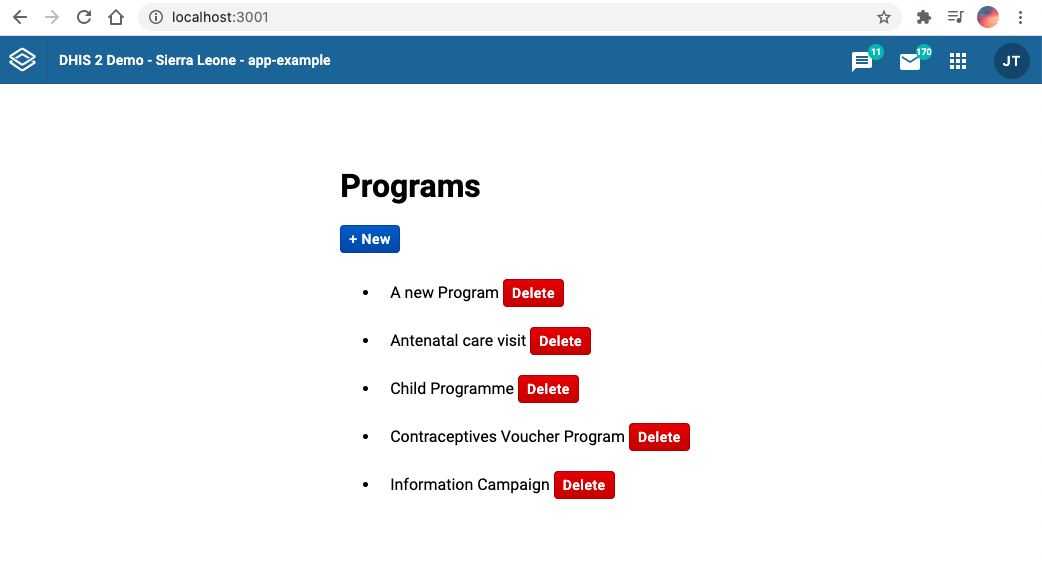
Optional: Delete a program
Details
See below👇
If you want to delete a program, you can create the following component:
import { useDataMutation } from '@dhis2/app-runtime'
import { Button } from '@dhis2/ui'

const deleteMutation = {
    resource: 'programs',
    type: 'delete',
    id: ({ id }) => id,
}

export const DeleteProgram = ({ id, refetch }) => {
    const [mutate, { loading }] = useDataMutation(deleteMutation)

    const onClick = () => {
        mutate({ id }).then(refetch)
    }

    return (
        <>
            <Button small destructive disabled={loading} onClick={onClick}>
                Delete
            </Button>
        </>
    )
}
Then add it to your application:
// ...
import { DeleteProgram } from './DeleteProgram'

// ...
;<ul>
    {data.results.programs.map((prog) => (
        <li key={prog.id}>
            {prog.displayName}
            <DeleteProgram id={prog.id} refetch={refetch}>
                Delete
            </DeleteProgram>
        </li>
    ))}
</ul>
// ...
More examples?
- Please check the app runtime documentation on the
useDataMutationhook for more examples on update, create and delete - You can also try to follow these exercises on data mutations from the Developer Academy 2021:
Want to learn more?
- Check the DHIS2 application runtime documentation or watch this short video presentation about data mutations (about 20 min)
What's next?
Learn how to submit your DHIS2 application to the App Hub by checking out this guide as well as the App Hub Submission Guidelines.