Creating a DHIS2 Web app
It's time to create a new Web app! Below we'll show you how to quickly bootstrap an app and how to connect it to a DHIS2 instance.
Creating a new Web app
- From the terminal, create a new DHIS2 app called "my-app"
# with pnpm
pnpm create @dhis2/app@latest my-app --yes
We recommend the use of pnpm as a package manager, but you can also use npm if you prefer:
# with npm
npm create @dhis2/app@latest my-app -- --yes
# or npx @dhis2/create-app@latest my-app --yes
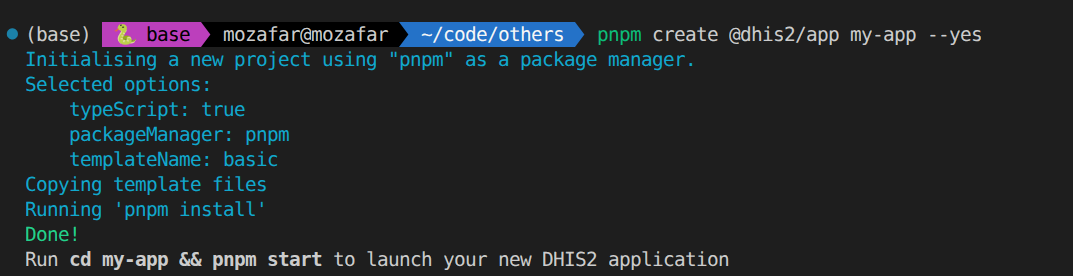
The --yes will create a new DHIS2 web application using the default options (pnpm as a package manager, and TypeScript for the language, using the default basic template).
If you remove the --yes flag, then you will have the chance to go through the wizard and customize the project, to choose JavaScript instead of TypeScript, or the legacy yarn 1 package manager.

- Change directories to
./my-appand start the app
cd my-app && pnpm start
Replace pnpm start with npm start or yarn start if you chose a different package manager.
Most places in the rest of the DHIS2 documentation assume yarn classic as the package manager. This was historically the default, but we are deprecating it in favour of more modern package managers. You can still choose yarn classic when initialising new applications, but we recommend using pnpm or npm unless you have a very good reason not to.
Connecting your Web app to DHIS2
- From the browser, navigate to your DHIS2 Web App, which by default runs under port 3000 http://localhost:3000. You will see the following page:
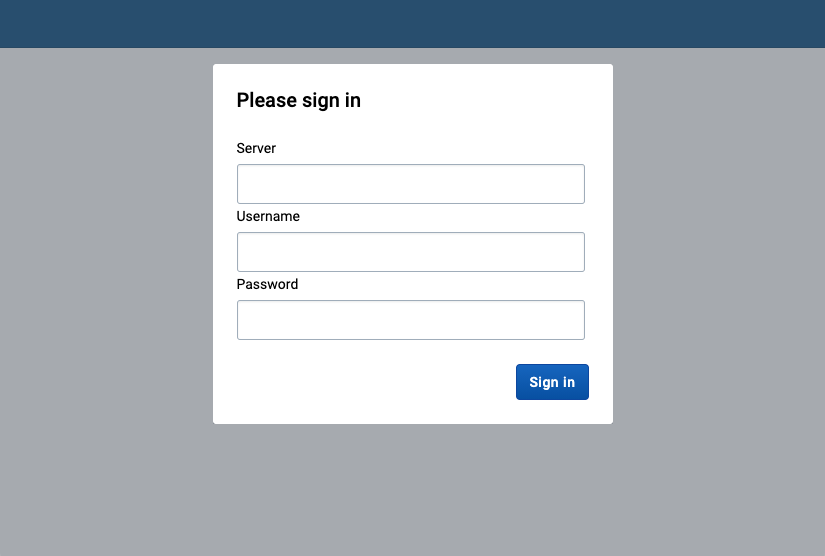
- Enter your DHIS2 server URL and the username and password of the default admin user (local DHIS2 instance assumed in the example below)
server: http://localhost:8080
username: admin
password: district
If you're running into some Cross-Origin Resource Sharing (CORS) policy issues when trying to connect to your application, please check the guide on how to debug common development errors.
You can also run your web app by creating a proxy to one of the environments on play.dhis2.org.
To do so, run:
pnpm start --proxy https://play.im.dhis2.org/dev-2-42
# or npm start -- --proxy https://play.im.dhis2.org/dev-2-42
This will create a proxy from http://localhost:8080 to the play instance, and you can enter http://localhost:8080 as the server url, and login using the play credentials.
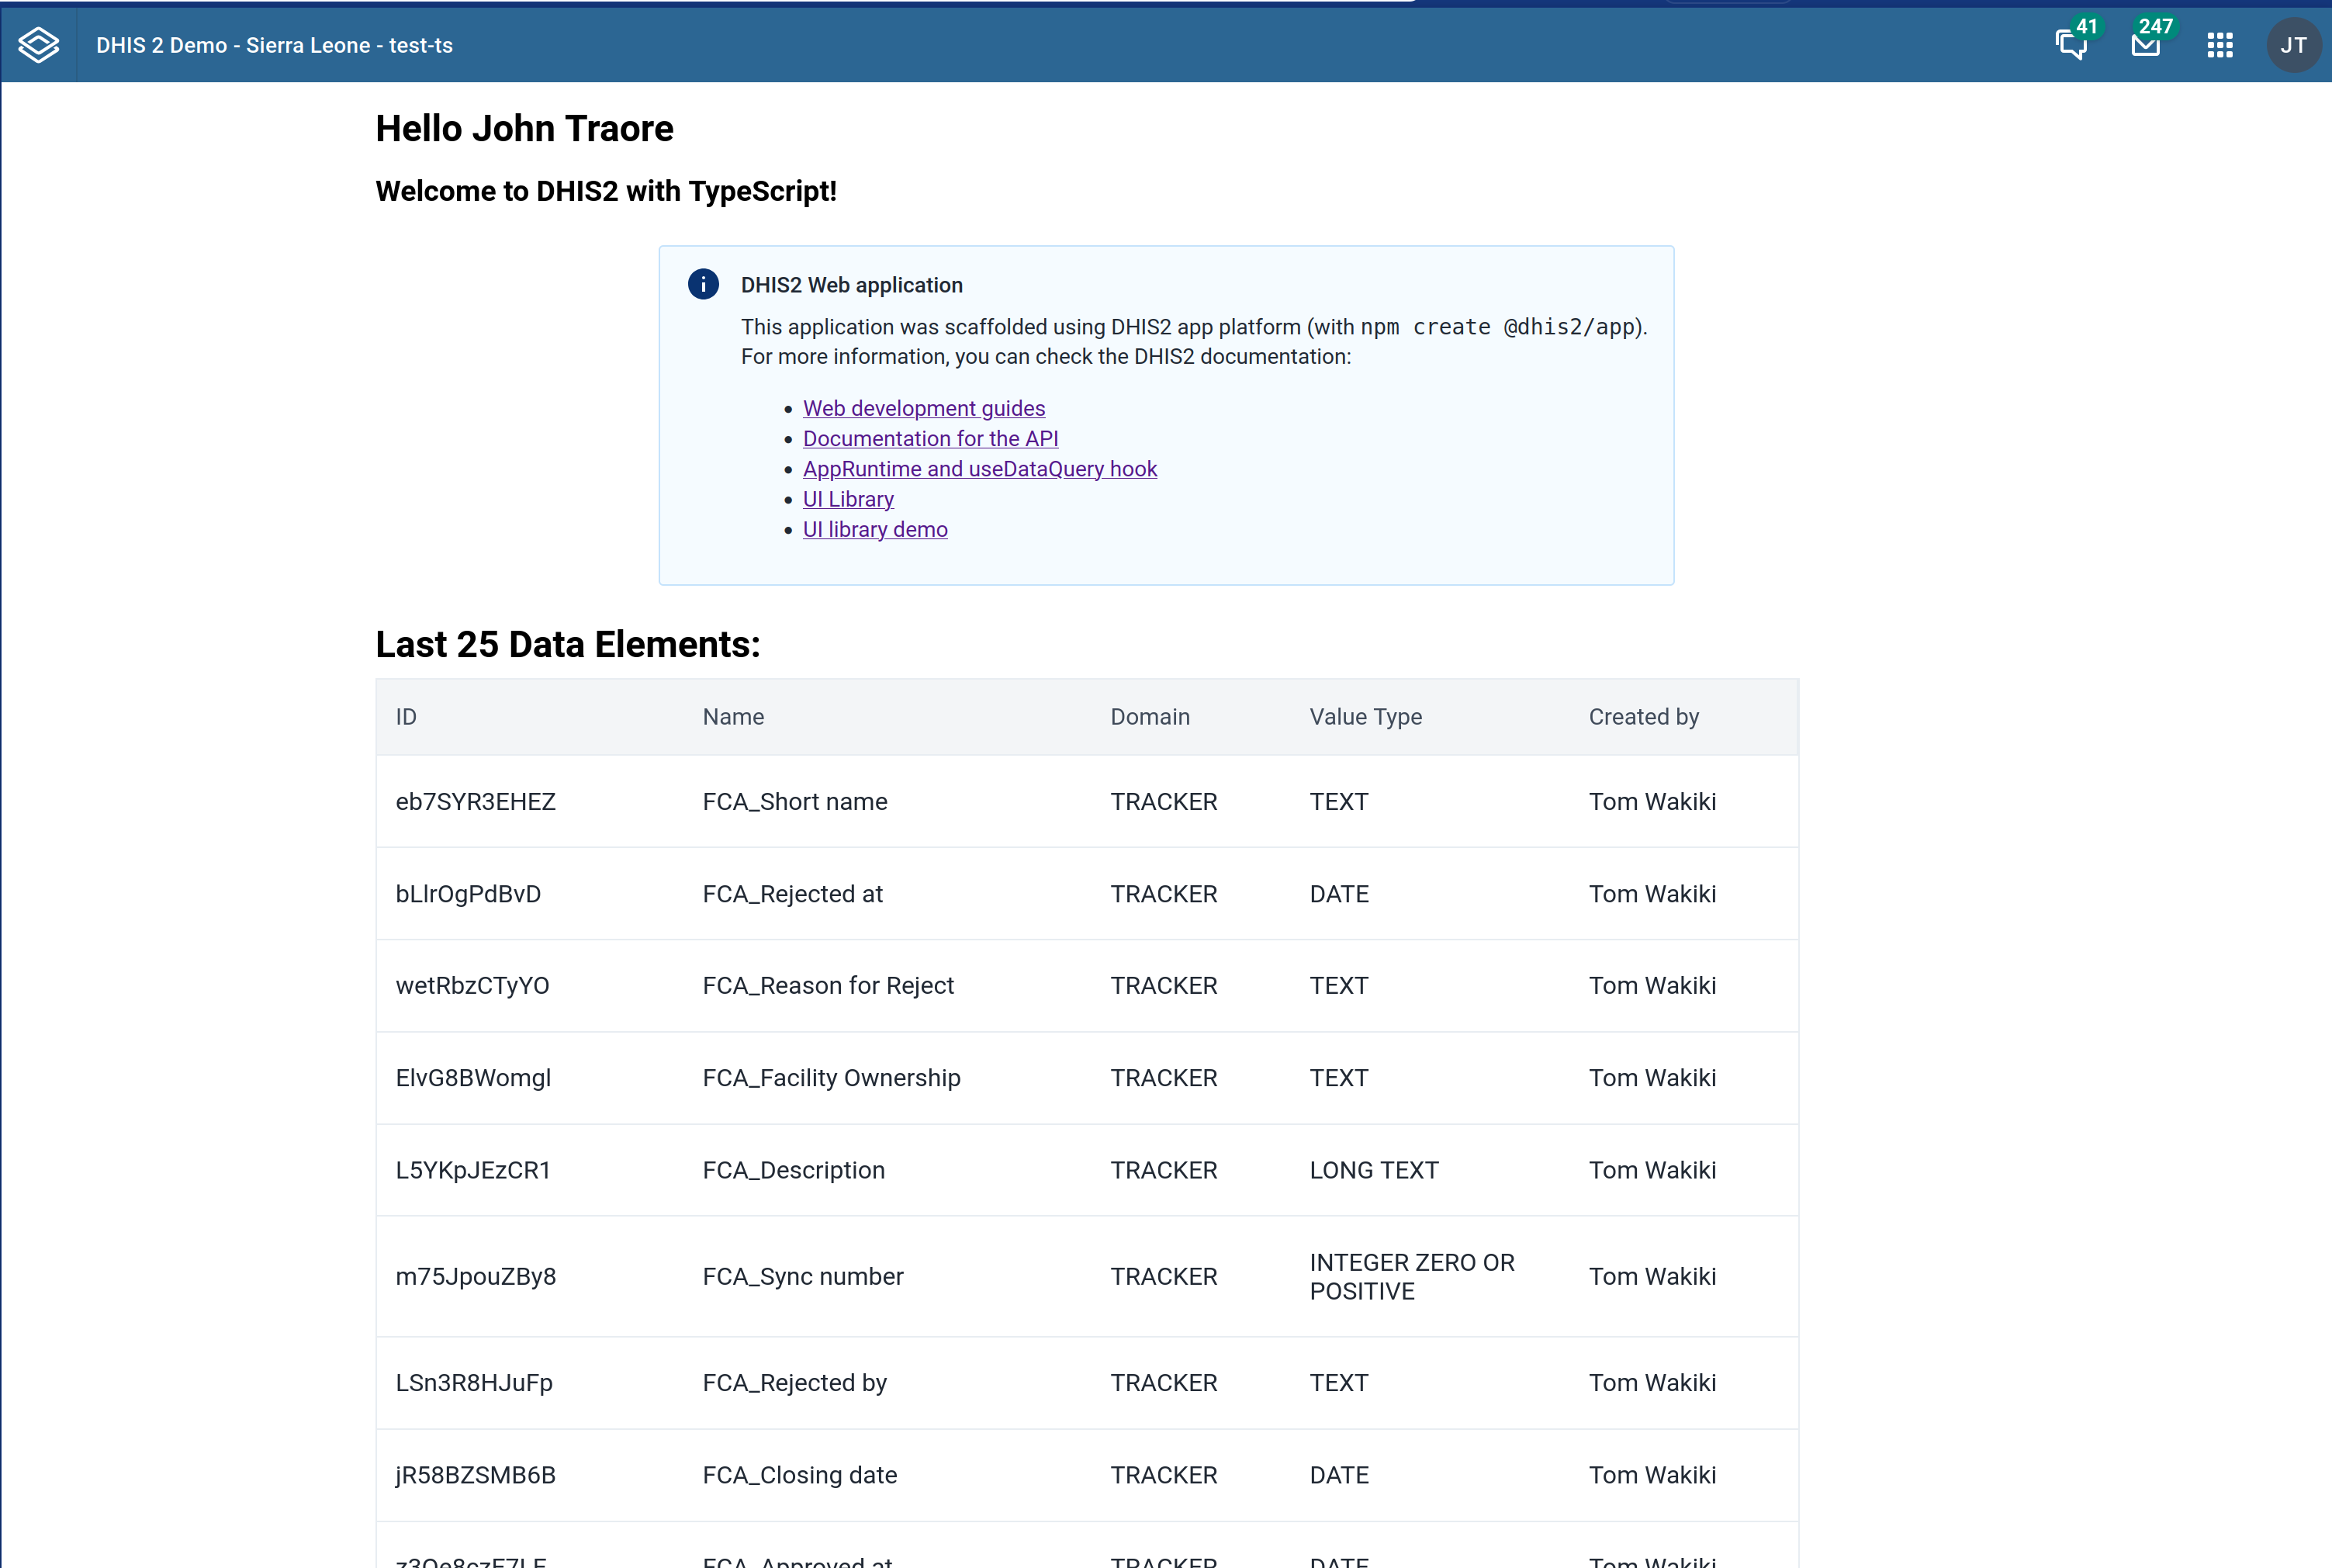
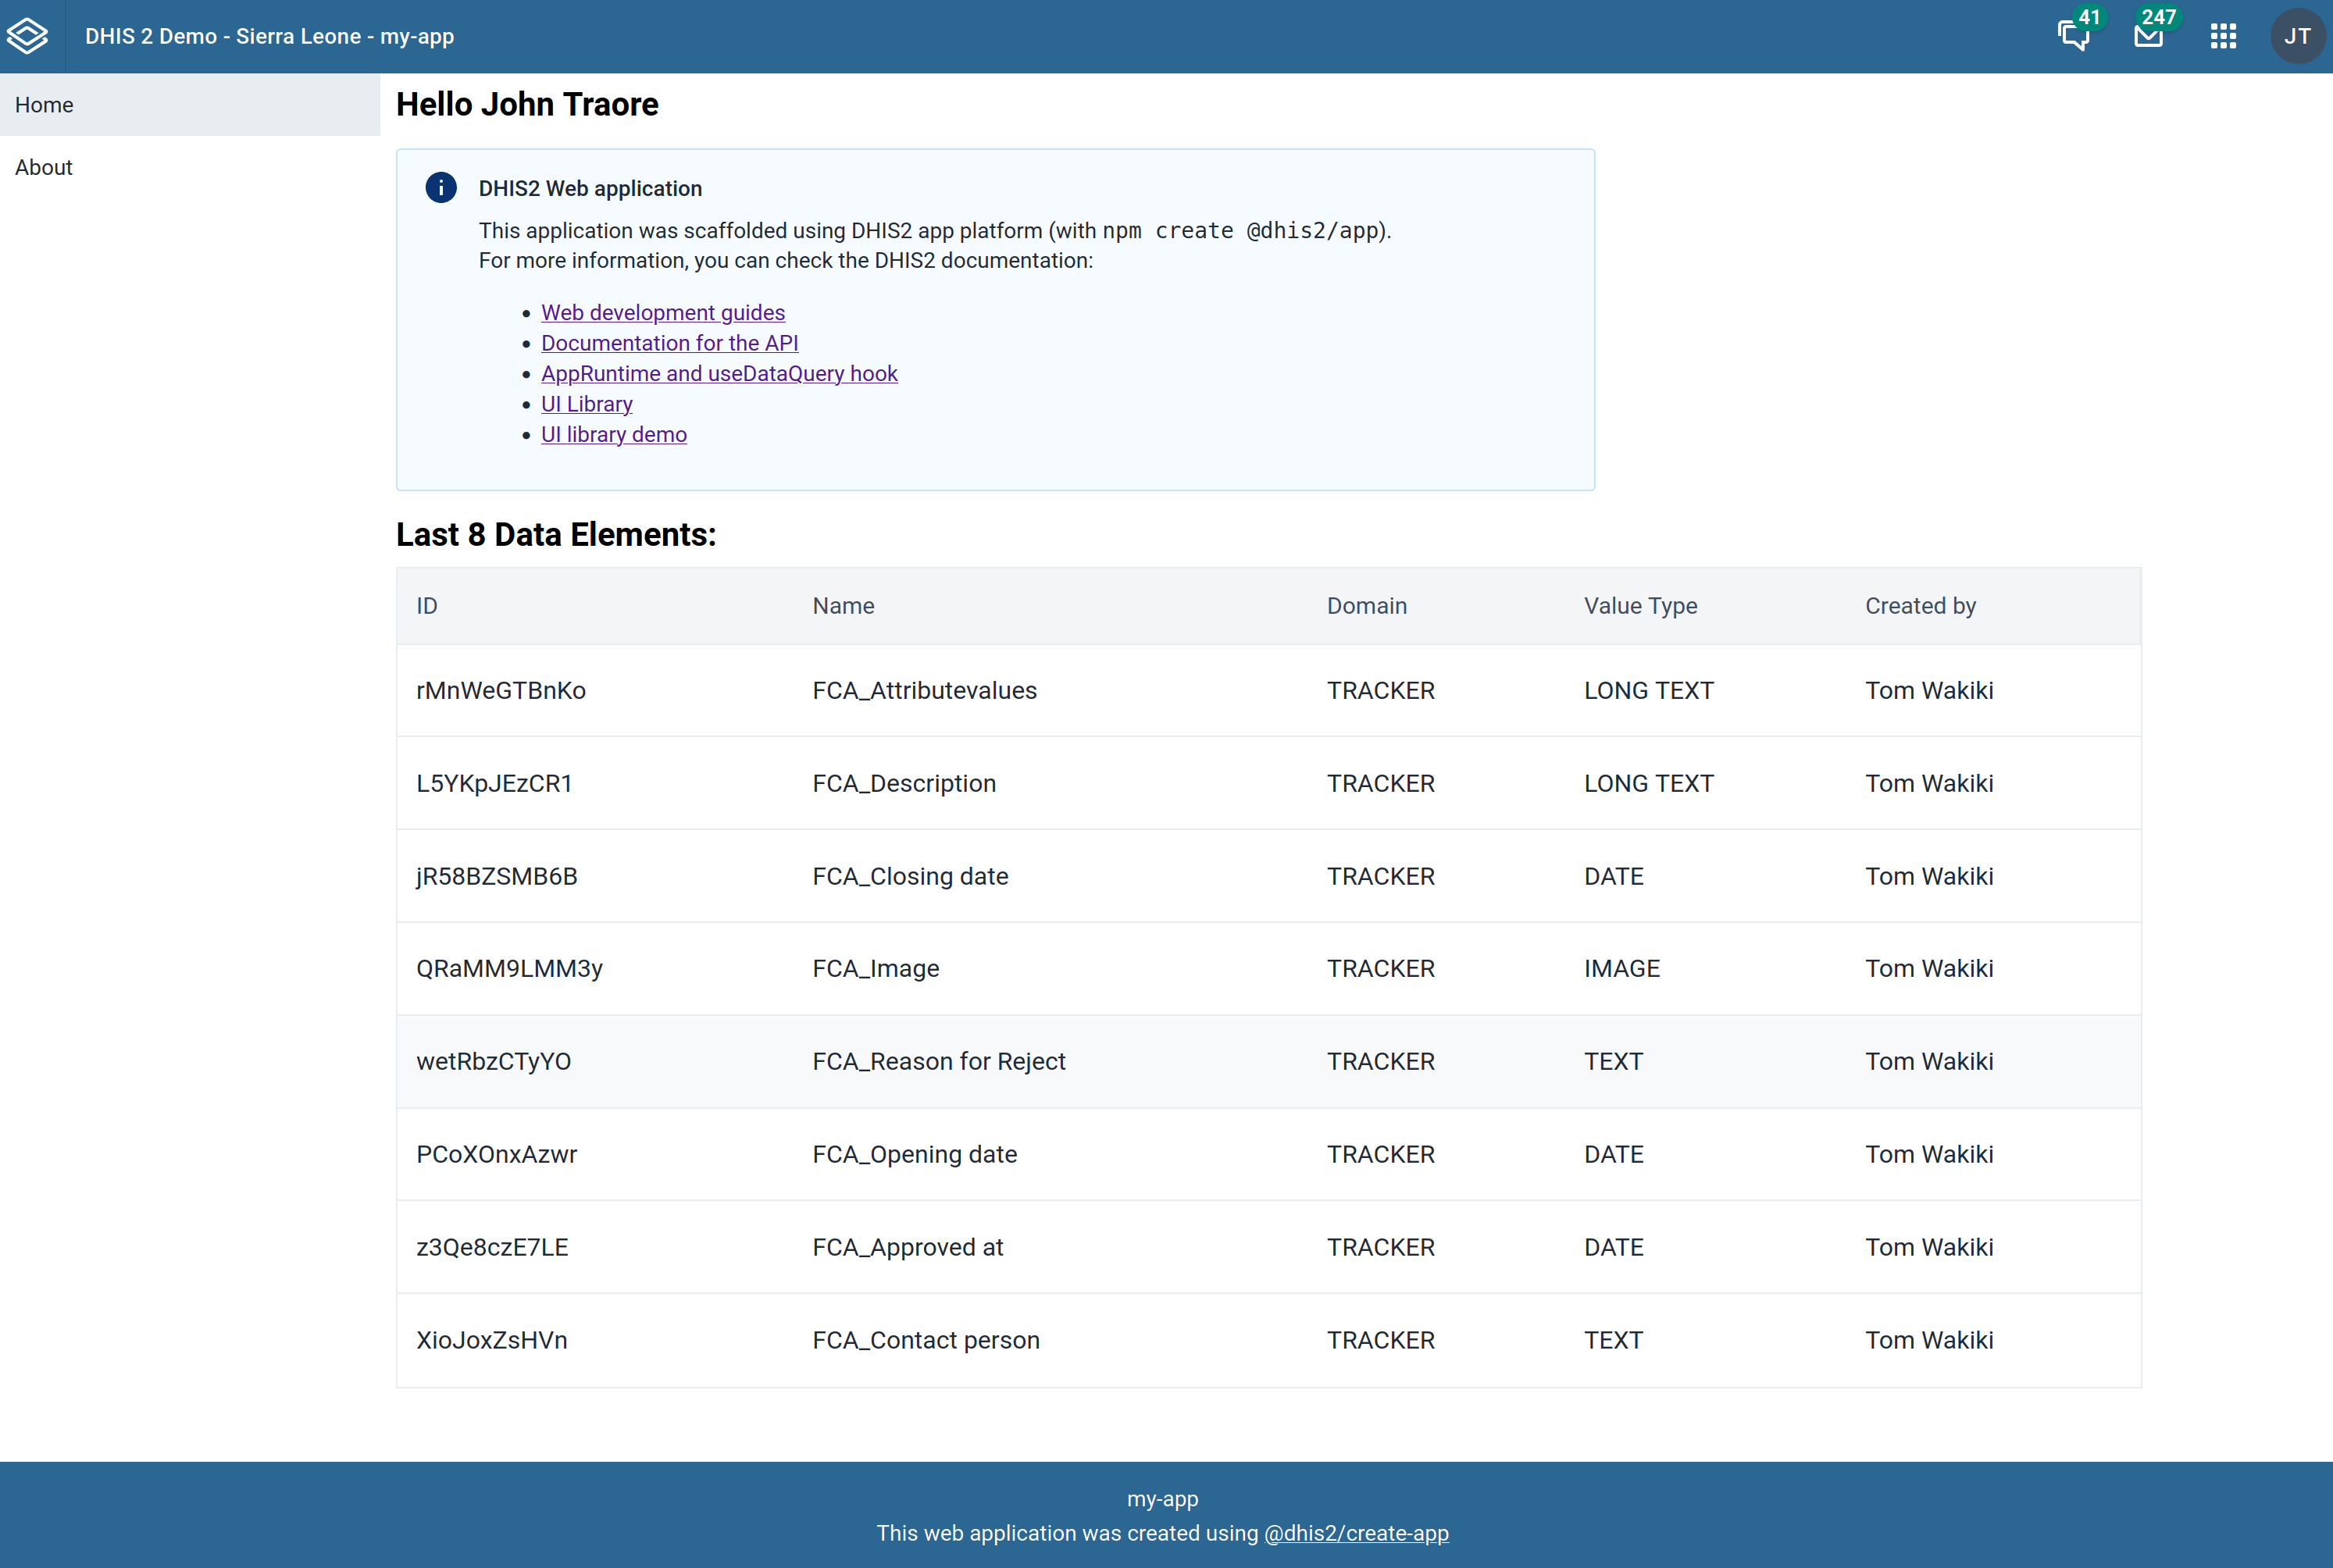
- You will see the default page with a welcome message to the currently logged-in user and a list of some metadata (data elements).
Congratulations! You are ready to start developing a DHIS2 app 🎊. Open the code in your favourite editor and start changing and amending it.
Other templates
The default template lists the last data elements and displays them in a table using our app-platform libraries (i.e. @dhis2/ui and @dhis2/app-runtime).
We also provide a more advanced starting template that sets up your project with React Router, which is a common scenario for most real-world applications.
To scaffold this template, you can run:
pnpm create @dhis2/app my-app --template react-router
or simply run pnpm create @dhis2/app and choose the template when prompted.
We intend to add more templates based on developers' feedback, as well as allow developers to specify their own templates.
For more information about the @dhis2/create-app CLI and the options you can pass to it, check the reference page
Next steps
Now that you have created a DHIS2 app and connected it to a DHIS2 instance you can learn more about developing apps on DHIS2.
- Learn more about DHIS2 apps from the developer documentation
- Watch training videos from the videos section
- Join our Developer Events published in the Events Calendar
- Join our next Developer Academies